Loading...
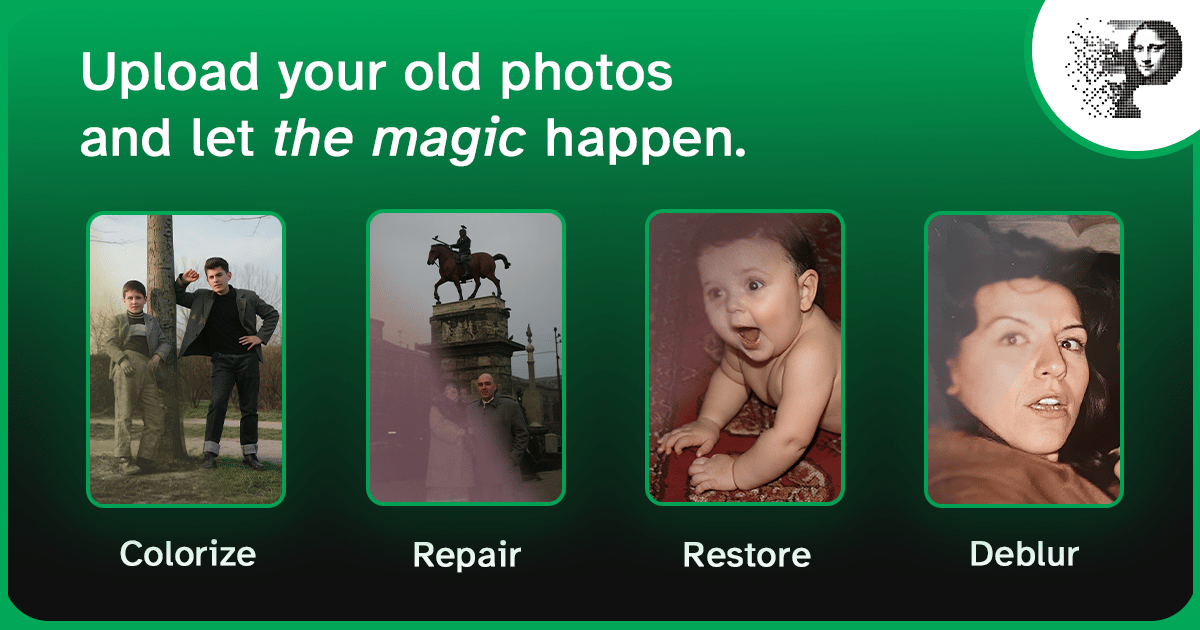
Most photo damage fixes well with AI: fading, yellowing, scratches, stains, and small tears restore to near-original quality. The honest dividing line is information loss — damage that covers the image (stains, surface marks, fading) restores very well, while damage that removed the emulsion (deep gouges, dissolved patches, mold holes) can only be softened, not rebuilt.
This matrix covers every common damage type, which engine handles it, and what result you can realistically expect. Use it to decide what to attempt, in what order, before spending credits.
The damage matrix
| Damage type | AI result | Engine that handles it | Notes |
|---|---|---|---|
| Fading and contrast loss | Excellent | White balance, enhancement | The most fixable damage there is; even century-old prints recover most tone |
| Yellowing and color casts | Excellent | White balance | Sepia shift on B&W prints strips away cleanly |
| Surface scratches and dust | Very good | Damage repair | Light-to-moderate scratches vanish; see the scratch guide |
| Creases and folds | Very good | Damage repair | Sharp fold lines rebuild well when the paper wasn't abraded |
| Small tears and rips | Very good | Damage repair | Corner loss on a plain background is nearly invisible after repair |
| Missing pieces (faces, complex background) | Partial | Damage repair + manual touch-up | Plain areas fill convincingly; a torn face may not reconstruct faithfully |
| Water stains and tide lines | Very good | Damage repair, then white balance | Stain hides detail; detail survives underneath and recovers — water damage guide |
| Mold staining | Good | Damage repair | Surface stains clean well; mold that ate emulsion leaves real gaps — mold guide |
| Heavy grain and noise | Very good | Enhancement | Film grain smooths without plasticizing when done in one pass |
| Low resolution / small print | Good | Upscaling | Genuine detail enlarges; nothing is invented from nothing — upscaling guide |
| Blur from a bad scan or camera | Moderate | Enhancement | Motion blur and focus miss can't be fully reversed — scan sharper instead |
| Dissolved or flaking emulsion | Limited | Damage repair | Missing image layer is missing information; boundaries soften but don't return |
| Under-exposed detail (dark negatives, shadowed prints) | Good | Enhancement | Shadow detail often survives and lifts well; crushed black stays crushed |
Two rules explain almost every row in that table:
- Covered detail recovers; removed detail doesn't. Stains, casts, and fading sit on top of the image. Tears and scratches interrupt it but leave context. Emulsion loss deletes it.
- Context lets AI rebuild; ambiguity doesn't. A torn corner through sky or wallpaper fills in convincingly because the surrounding pattern tells the model what belongs there. A rip across a face has no such template, so the reconstruction is a plausible guess, not a recovery.
Which engine, in which order
The single most common mistake is stacking engines in the wrong order — or stacking all of them at once. Damage repair before color, color before size:
Three habits make the order work:
- Inspect after every engine. Each run is a separate credit, and you keep every result. Compare against the original, not against your memory of it.
- Restart from the untouched original when something goes wrong. Stacking a correction on a bad result compounds the bad result. The original file is your reset button — this is also the first rule of the troubleshooting guide.
- Face enhancement runs once, last. Repeated face passes push skin toward wax. Once is enough on a good scan.
Damage that needs a human first
Some photos need hands-on care before any software touches them:
- Photos stuck together (water-fused albums) — separate cold and slow before scanning; forcing them destroys emulsion. The water damage guide walks the freezer method.
- Moldy prints — wipe surface mold off with a dry cloth in a ventilated room and isolate the photo from your collection before scanning.
- Brittle or flaking prints — scan flat as-is; every extra handling pass sheds emulsion.
After that, everything is software: scan at 600 DPI (the scanning guide has the settings), and run the engines in the order above. For albums and boxes of prints, the batch restoration guide shows how to do dozens in one session.
FAQ
Can AI fix a photo that is torn in half?
Yes — torn photos are among the best AI restoration candidates. Scan both halves flat at 600 DPI and upload them as one image (align them edge-to-edge on the scanner glass, or stitch them in any basic editor first). The damage repair engine closes the tear line and rebuilds the seam. Straight tears through plain backgrounds become invisible; tears across faces reconstruct plausibly but deserve a close look before you print.
Can AI remove scratches from an old photo?
Almost all of them. Surface scratches, hairline marks, and dust specks clear completely with damage repair. Deep gouges that cut through the emulsion soften substantially but leave slight texture where the detail was physically removed. Run the repair once on a clean 600 DPI scan rather than stacking repeated passes — one good pass beats three aggressive ones.
Can AI restore a photo that has faded over time?
Fading is the most fixable damage there is. The dye layers in old prints survive long after they stop displaying correctly — enhancement and white balance recover contrast and strip the yellow or magenta cast in a single pass. Even prints a century old usually come back close to their original look. Severely faded photos may keep a slight flatness in the deepest shadows.
What damage can AI not fix?
Anything that physically removed the image: dissolved or flaking emulsion, mold that ate through the print, deep abrasion, and paint or ink covering faces. AI can soften those areas and blend the boundaries, but it cannot recover detail that no longer exists — it reconstructs from context, and honest tools tell you when a result is a reconstruction rather than a recovery.
Should I repair damage before colorizing an old photo?
Always. Colorization models read tone from the whole image, so stains, tears, and casts get colorized too — producing muddy patches and wrong hues locked into the final result. Run damage repair, then white balance, and only then colorize. On a clean scan the colorization result is dramatically more natural.
Find your photo's damage, fix it in order
Diagnose first, run one engine at a time, restart from the original when in doubt. Restore your damaged photo — free for your first photo.