Loading...
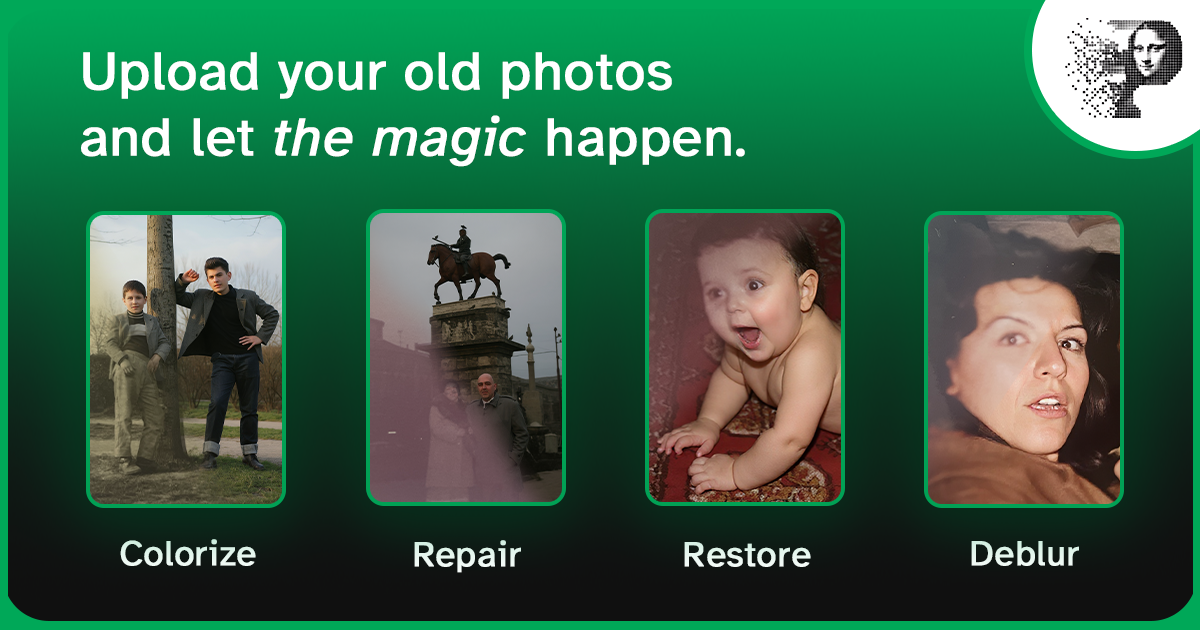
Every family historian knows the feeling: you find a photo of a great-grandparent — faded, scratched, maybe torn — and it's the only image of that face in existence. Restoring ancestor photos is one of the most meaningful projects in genealogy, and AI has made it fast and affordable.
This page covers the part that is specific to ancestors: knowing what you are looking at, dating it, identifying the people in it, and treating a 150-year-old object with the care it needs. The restoration walkthrough itself lives in the how to restore old family photos guide; if the prints are not digitised yet, start with how to digitize old photos.
Why ancestor photos are worth restoring
- They're irreplaceable — no negative exists, and the print is the only copy
- They're evidence — in genealogy, an image can confirm a name, a date, a place, or a relationship
- They're scarce — most families have only a handful of images from before 1900, so each one matters
Good to know: restoration isn't "improving" history — it's recovering what the original photo actually showed. The goal is to make the ancestor look like a real person, not an idealised painting. Keep the unedited scan as the archival copy, and label anything colourised.
Know your period media
The format of a 19th-century photograph tells you when it was made and how to handle it. The date ranges overlap, but they are a reliable guide:
| Format | Roughly | What it is | Handling notes |
|---|---|---|---|
| Daguerreotype | 1839–1860 | Image on a silvered copper plate, in a case | Very fragile and mirror-like: photograph it angled to avoid reflections, never scan face-down, do not clean it |
| Ambrotype | 1850s–1870s | Image on glass, usually cased | Fragile; the emulsion can sit on either side of the glass |
| Tintype (ferrotype) | 1856–1900s | Image on a lacquered iron sheet | Robust, but the surface scratches easily and reflects; avoid direct flash |
| Carte de visite | 1859–1900s | Small albumen print mounted on a card, about 2.5 × 4 in | Scan at 600–1200 DPI; the card stock is stable |
| Cabinet card | 1866–1900s | Larger card-mounted print, about 4.25 × 6.5 in | Often the best-quality 19th-century source; the photographer's imprint frequently names the town |
| Albumen print | 1850–1900s | Egg-white coated paper — the sepia or violet look | Sensitive to moisture and pressure; scan flat and handle by the edges |
| Gelatin silver | 1880s–1990s | The 20th-century black & white print | The most stable format, and usually the easiest to scan and restore |
| Kodachrome / colour film | 1935 onwards | Early colour slides and prints | Colour dyes fade unevenly; restore colour before sharpening |
The photographer's imprint, the card design, and the sitter's clothing narrow the date further — sleeves, collars, and hairstyles change quickly, and a portrait cannot predate the format it is printed on.
Identify before you restore
A restored portrait of "probably Uncle Tom" is worth far less than one you can name. Do the identification work first, because the people who remember are the resource that disappears:
- Ask the oldest generation now. Names, dates, and places live in memory, not in the photo.
- Compare faces across the whole collection. Two photos of the same person at different ages usually look like relatives of each other.
- Read the back. Pencil notes faded since the 1900s, studio stamps, and addresses are all evidence.
- Cross-check the records. Census years, marriage entries, and gravestone dates narrow the window a face can fit into.
- Write it down immediately, and attribute it. "Identified by X, 2026" and an honest "probably" are both valuable — a confident wrong label is worse than a hedge.
Restoration must not invent identity either. The model reconstructs texture and tone, not a different face; if a portrait restores into someone who doesn't resemble the family, the source needed different treatment, not a different person.
From identification to repair
Once the image is digitised and identified, the repair is mechanical — and each kind of damage has its own page here:
- Scratches, dust, and mold lines — what is fixable and what is not
- Tears, missing corners, cracks — torn photo repair
- Fading, sepia cast, water staining — fixing faded photos
- Colourising a black & white portrait — how AI colorization works, then the colorize guide
For the end-to-end process — sort, digitise, restore, colourise, share — follow the family photos guide rather than repeating it here.
Archive the result for the family tree
- Name files consistently —
surname-firstname-maidenname-year, so a folder sorts into a timeline - Record the metadata — person, date or range, place, photographer, source, and who identified it
- Keep the master — the untouched scan is the archival file; the restored version is a derivative
- Mirror it — two locations, one off-site, in formats that will still open in thirty years (TIFF or high-quality JPEG)
- Share it where it will be found — Ancestry, MyHeritage, FamilySearch, and genealogy groups all accept restored portraits
FAQ
Can AI restore very old photos from the 1800s?
Yes. The model works on image content, not on age. Tintypes, cartes de visite, and albumen prints digitised at high resolution restore well; extremely faded or physically damaged originals may need manual restoration.
Is it okay to colorize historical photos?
Yes — it is an accepted and popular practice in genealogy when the image is labelled as colourised. The original black and white version stays the archival copy.
How much does it cost to restore family photos?
With Pinin, your first restoration is free. Each photo after that costs one credit, often less than a dollar per photo for standard restoration.
Bring your ancestors back to life — restore an ancestor photo now.