Loading...
AI Photo Restoration Troubleshooting: Why Your Results Look Wrong and How to Fix Them
AI photo restoration is remarkably good — and occasionally frustrating. A photo comes back with a waxy face, an orange cast, or blocky artifacts, and it's tempting to blame the tool. In most cases, though, the root cause is diagnosable: the source scan, the engine order, or a mismatch between the photo and the engine.
This guide covers the most common failure modes, what causes them, and exactly how to fix them.
First: diagnose before you re-run
Most bad results fall into one of a handful of patterns. Find your symptom in the table, then jump to the fix.
The symptom table
| Symptom | Root cause | Fix |
|---|---|---|
| Faces look blurry or smeared after restore | Source face is too low-res for the engine | Run Upscaling first, then Face Enhancement. If still soft, rescan at 600 DPI. |
| Blocky "jpeg" artifacts everywhere | Heavy JPG compression in the source | Re-scan or re-export from the original as PNG/TIFF. Run Upscaling to smooth blocks. |
| Orange / yellow cast on the result | Faded print scanned with warm cast; color engine amplified it | Run White Balance first, then re-run color engines. |
| Colors look oversaturated / neon | Colorization engine applied to an already-colored (faded) photo | Only colorize true grayscale. For faded color, use White Balance + Upscaling instead. |
| Group photo: some faces good, some bad | Faces are small relative to the frame | Crop each face region, restore separately, then merge — or use a higher-DPI scan. |
| Dark areas lost all detail | Source shadows are crushed (underexposed scan) | Rescan with a longer exposure / higher dynamic range; avoid brightening in post. |
| Skin looks waxy / plastic | Face Enhancement over-applied on a low-detail source | Reduce engine strength if available, or upscale the source first. |
| Photo came back looking "painted" | Source was already heavily processed (old reprint) | Use the original print if you have it; avoid stacking too many engines. |
Symptom deep-dive #1: Blurry faces after restoration
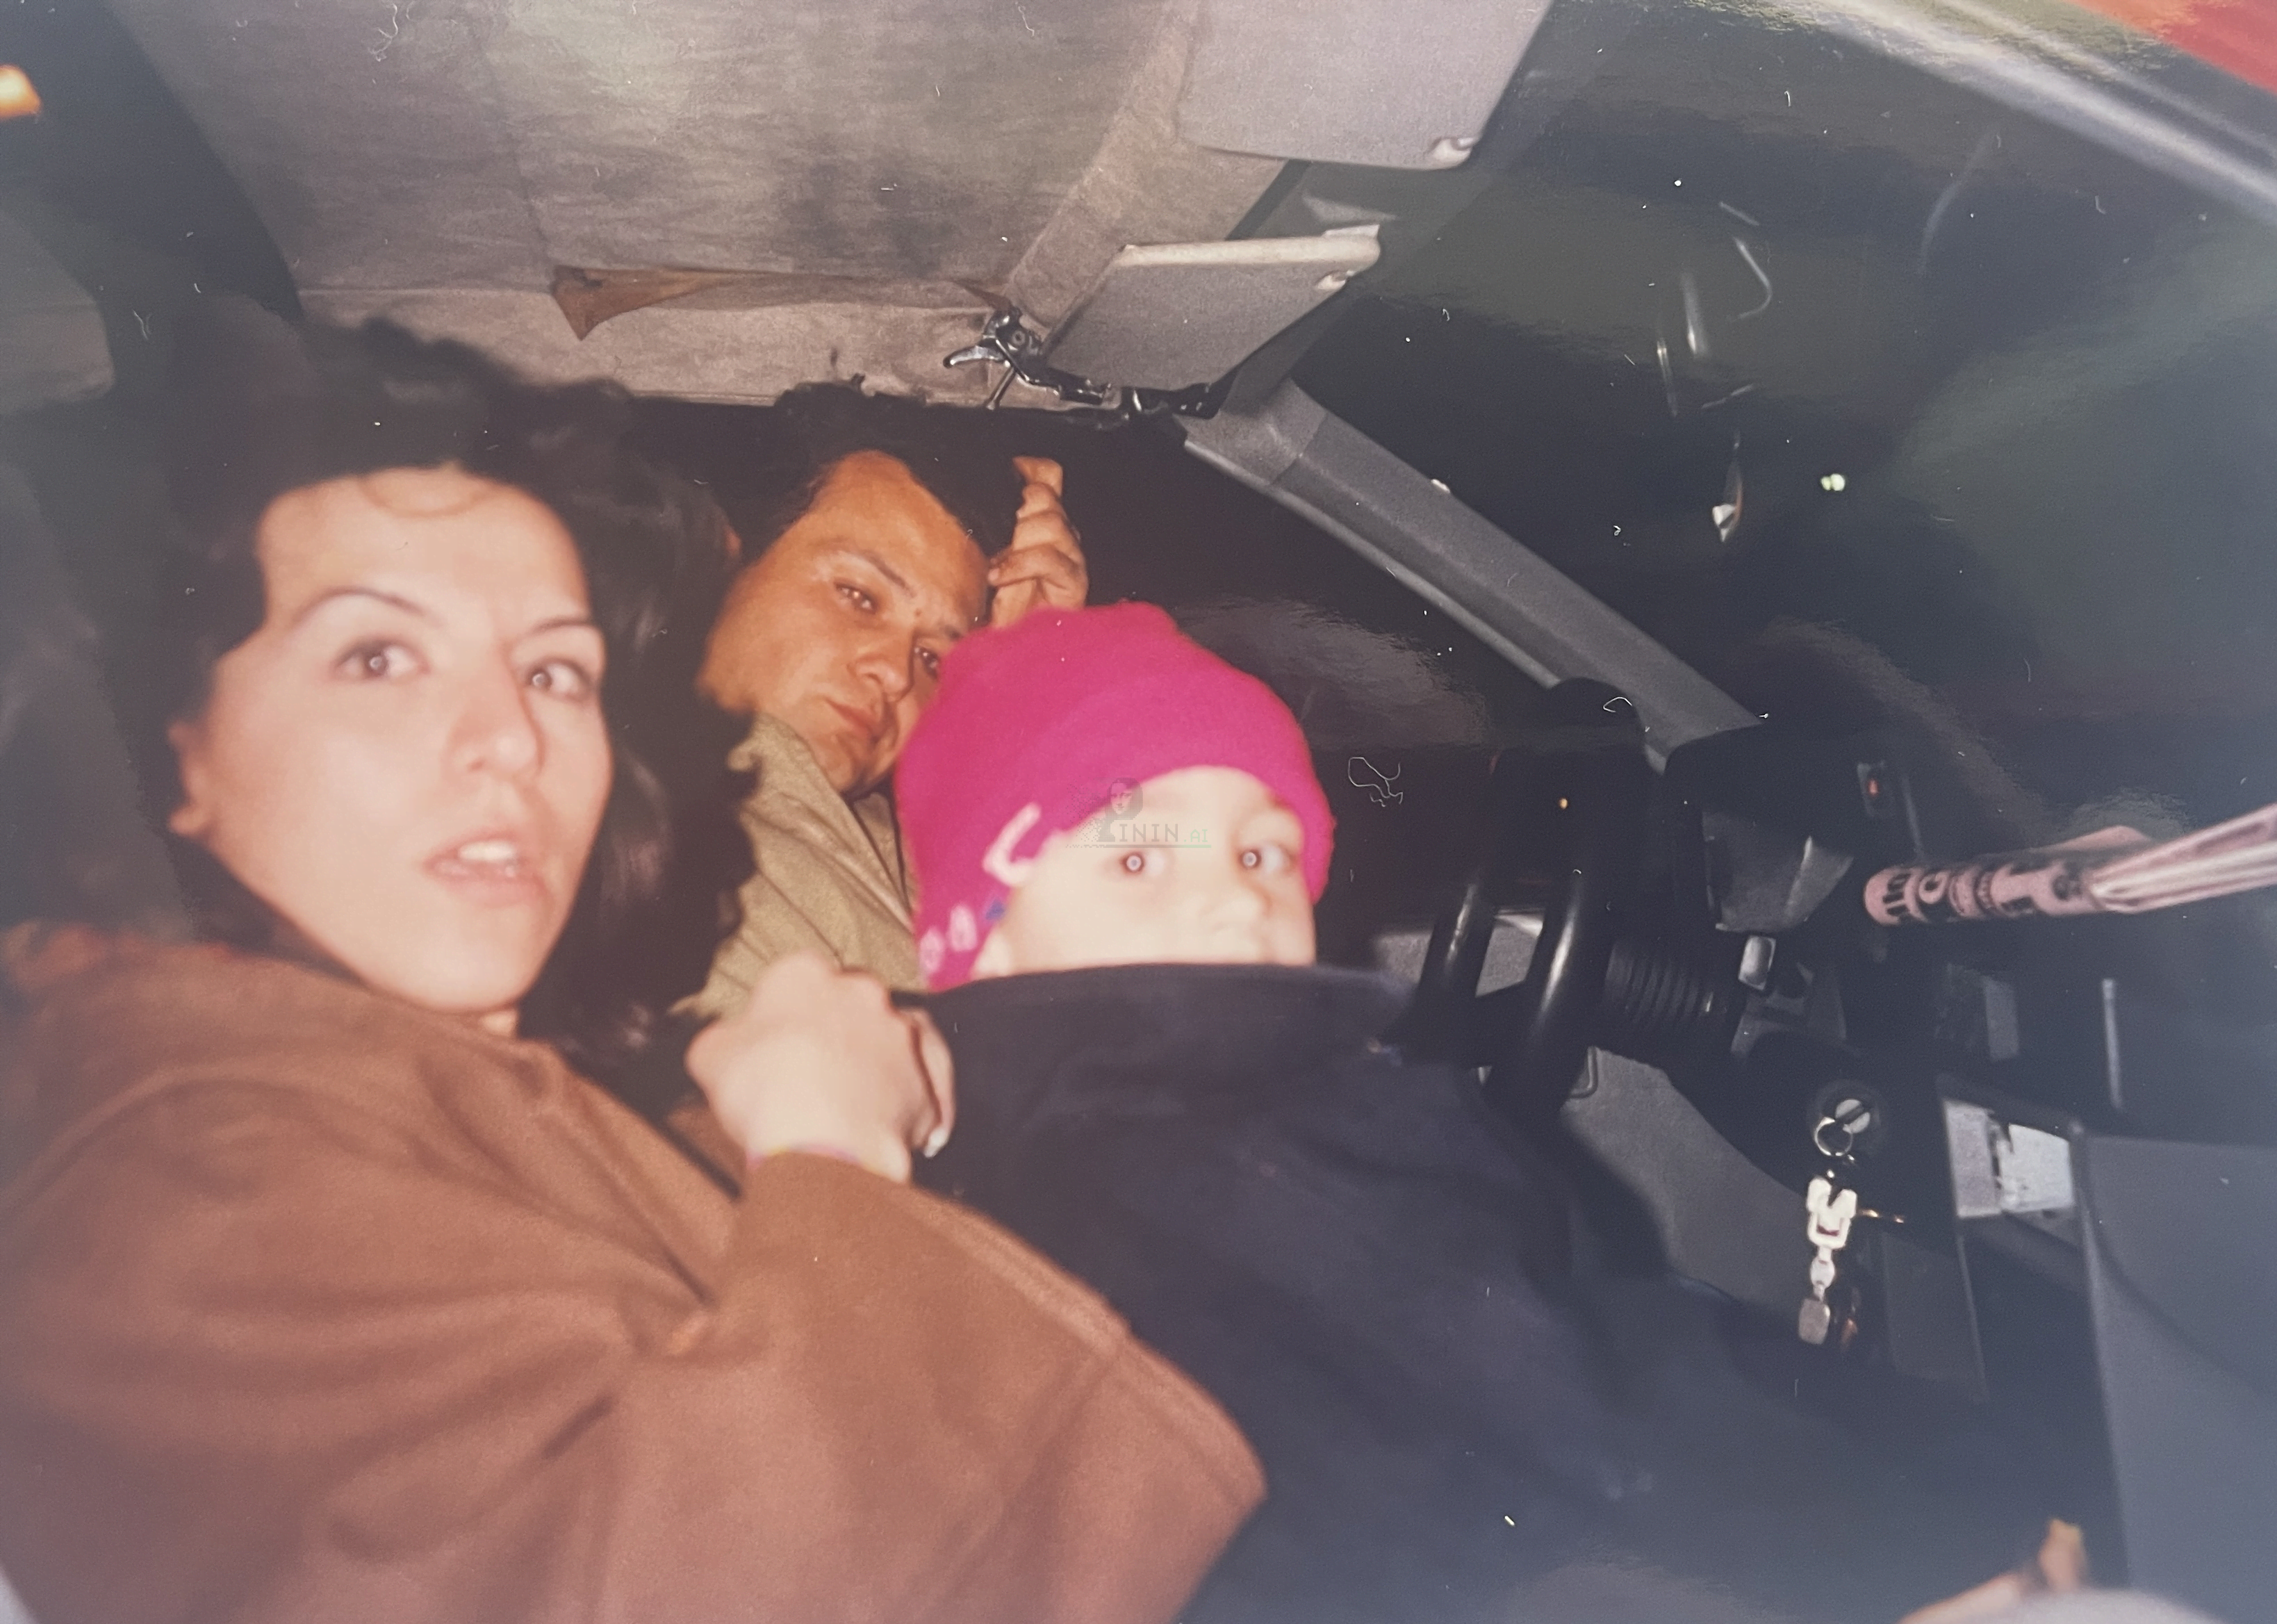
This is the most common complaint, and it's almost always a source resolution problem, not a model failure. A face that occupies only 5% of a 1 MP photo is about 120×90 pixels — roughly 40×30 pixels of actual facial features after accounting for hair and background. No model can conjure a crisp face from that.
Run these checks in order:
- Measure the face in the source. If the face region is under ~150 pixels wide, the photo is below the practical threshold for good face restoration.
- Check the scan DPI. A 300 DPI scan of a 4×6 print gives you a 1,200×1,800 image — fine for the whole photo, marginal for faces. Rescan at 600 DPI if the original print is available.
- Reorder the pipeline. Run Upscaling (2×–4×) first, then Face Enhancement. The face model gets 4–16× more pixels to work with.
- As a last resort, crop. Restore the face as its own crop, then paste it back into the full photo in any basic editor.
Warning: Do not use Face Enhancement repeatedly on the same photo hoping it will converge on a sharper face. Each pass adds smoothing, and you'll end up with a waxy mask. One pass, on the best source you can produce.
Symptom deep-dive #2: Wrong colors and color casts
Color problems come in two flavors: the yellowed/faded cast (a scanning or aging problem) and the wrong hue (a colorization or engine-order problem). They have different fixes.
For a yellowed, faded print:
- Run White Balance first and check the result before running anything else.
- If the cast persists, the scan itself may be biased — rescan with the scanner's color profile set to a neutral daylight balance.
- Only then run Colorization (if it's truly grayscale) or Upscaling (if it's a faded color photo).
For wrong hues after colorization:
- Confirm the source is actually grayscale. Colorizing an already-colored photo produces doubled, muddy color.
- Run Scratch Removal before colorizing — scratches and stains get "colored" as if they were real objects.
- Check for strong lighting gradients in the source; a heavily shadowed face will often be assigned flat, generic skin tones. A flatter, well-lit scan will colorize more accurately.
Tip: Keep a copy of the untouched original. If a run goes sideways, you can always restart from the original rather than from a degraded intermediate. Pinin never overwrites your upload — but you should still keep your own master file.
Avoiding the problems in the first place
Most troubleshooting disappears if you follow a consistent pipeline:
- Scan well — 600 DPI, clean glass, neutral color profile, no auto-enhance filters. See the scanning guide.
- Run one engine at a time, and inspect after each step instead of stacking everything blindly.
- Fix the photo, then the color, then the size — damage repair before color, color before upscaling.
- Match the engine to the damage. Colorization doesn't fix scratches; Upscaling doesn't fix fading. When in doubt, the getting started guide has a damage-type table.
FAQ
Why does my restored photo look blurrier than the original?
Either the source was already at its resolution limit (a low-res scan), or an enhancement engine smoothed away fine detail. Fix: re-scan at higher DPI, upscale before enhancing, and avoid running multiple smoothing engines in sequence.
Can I fix a restoration that already looks bad?
Yes — you're never stuck with a result. Restart from the untouched original, change the engine order (usually: scratch removal → white balance → color → upscale → face), and re-run. Each restoration is a separate credit, but you keep the original forever.
Why did the sky turn purple / the grass turn blue?
Colorization guesses from context. If the source has a color cast, a heavy grain, or was partially faded, the model's cues get scrambled. Fix the cast with White Balance first, then re-colorize. On heavily damaged photos, run Scratch Removal first too.
Do I need a paid plan to retry a failed restoration?
No — retries use credits like any restoration, and the free credit works the same way. If a restoration consistently fails on a given photo, it's almost always a source-quality issue rather than a credit issue. Improve the scan, then retry.
Fix your photo with a clean pipeline
Don't fight a bad result — restart from the original with the right engine order. Start a fresh restoration.